Get Your Cabinets Ready for a Smooth Painting Experience
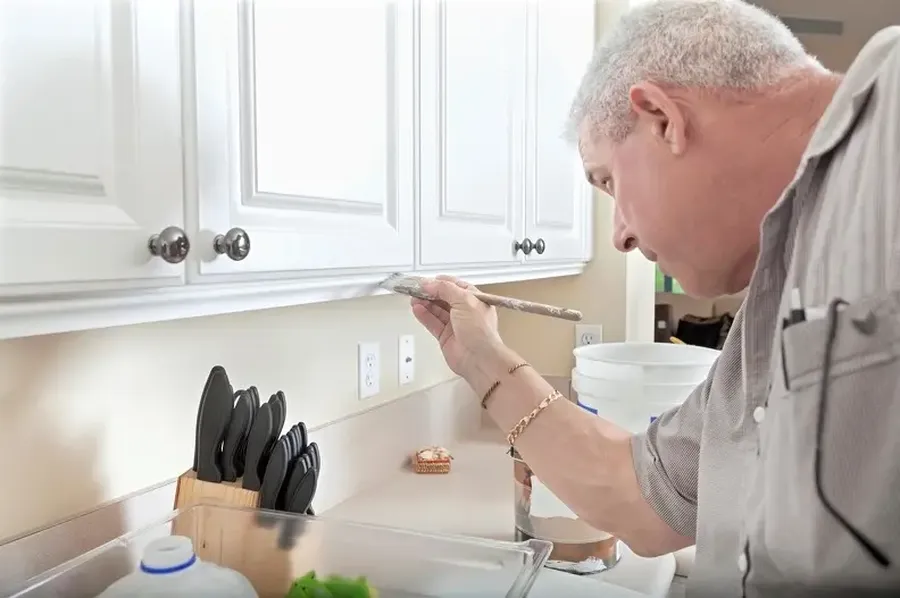
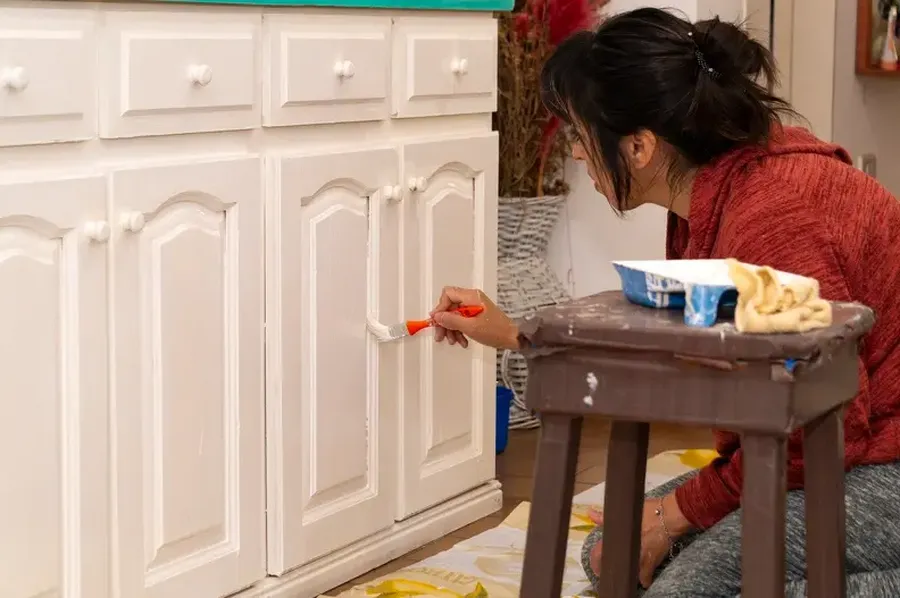
Painting your cabinets can breathe new life into your kitchen or bathroom. However, to achieve that perfect finish, proper preparation is key. Taking the time to prepare your cabinets not only ensures a better paint job but also extends the lifespan of the new finish. This guide will walk you through essential steps and considerations to make sure your cabinets are in the best condition before starting your painting project.

Assessing the Current Condition
Before diving into painting, assess the current condition of your cabinets. Look for any signs of damage, such as dents or scratches. It’s crucial to fix these issues first, as they can affect how well the paint adheres. For example, use wood filler to smooth out any imperfections. This step ensures that when you begin with cabinet painting, the surface is even and ready to hold the paint.
Cleaning Thoroughly for Optimal Adhesion
One of the most important steps is to clean your cabinets thoroughly. Grease, dirt, and grime can prevent paint from sticking properly. Use a degreaser or a simple mix of warm water and dish soap to wipe down all surfaces. Make sure to rinse and dry them completely. Clean cabinets allow for a more successful application of paint, leading to a longer-lasting finish.

Removing Doors and Hardware
To simplify the painting process and avoid accidents, remove all cabinet doors and hardware. Label each door and its corresponding hardware to make reassembly easier. By taking this extra step, you’re setting yourself up for a smoother cabinet painting experience with fewer errors and a cleaner look.
Sanding Surfaces for Better Grip
Sanding is an essential part of preparing your cabinets for paint. It helps create a rough surface for the primer to adhere to. Use fine-grit sandpaper, around 120-150 grit, to lightly sand each surface. After sanding, be sure to wipe away dust with a tack cloth. This preparation step is crucial for achieving a professional finish.
Applying Primer for Long-Lasting Results
A quality primer serves as the foundation for your paint job. Choose one that is suitable for your cabinet material-whether it’s wood or laminate. Apply an even coat and let it dry thoroughly according to the manufacturer’s instructions. Priming prevents stains from bleeding through and enhances the durability of your final coat of paint.
Choosing the Right Paint Type
Selecting the right type of paint is vital for both aesthetics and longevity. Consider using a semi-gloss or satin finish, which is easy to clean and stands up well to wear and tear. These finishes can highlight the beauty of your cabinetry while providing practical benefits like moisture resistance.
Final Touches: Checking and Reassembly
Once painting is complete, inspect every piece for missed spots or uneven coverage. Touch up where necessary to ensure a uniform look. Once satisfied with the result, carefully reattach doors and hardware by following your labels. This attention to detail elevates the finished product, leaving you with stunning cabinets that enhance your space.
Your Pathway to Perfect Cabinet Painting
If you’re looking to transform your space with beautifully painted cabinets, thorough preparation is non-negotiable. Start by assessing and cleaning your cabinets properly. Take steps like removing hardware and sanding surfaces seriously if you want long-lasting results. Based in Burton, MI, I specialize in guiding homeowners through professional-grade painting projects. Contact me today at (989) 206-9129 for expert advice tailored specifically to your needs. Let Tyler's All Star Painting help you turn your vision into reality with flawless cabinet transformations.
